READ WELL BEFORE.
MATERIAL USED IN THE RABBIT.

This is a list of all known materials and are almost always used:
- Scissors, needle, pins, thread machine, thimble, stuffing, two black beads, a bell, skeins DMC Moulin in red and gold, linen thread or twine thickness.
This is another list of tools.
- A fine crochet, a white pencil, needle wool, a long thin screwdriver, a sachet of instant coffee.
Fabrics:
- white or tan felt.
 FELT DYEING.
If you want to give this figure an older look is to dye the felt instant coffee. In the picture you can see the difference in tone between the unstained white felt and felt the same after the dyeing process. Dye
Felt is very easy, the first thing to do is put water in a container (200-250 ml. Is sufficient for the piece felt that you need to do the rabbit) and heated in a fire when the water is hot, put in the envelope of instant coffee, stir it well and then introduce a piece of felt. We let it sit in the container a bit, drain and see if we like the tone that has been. If we feel that is very dark we put it under running tap water and lower the tone a lot, if we think that was very clear it again to enter the cafe and let it sit longer. The disadvantage of using coffee to color a fabric is that this type of dyeing is not very solid.
These two tips that follow are important to dry so we let it stand top of something flat and before he set to work with must be ironed.
Note: our figure is 100% original, no reduction. - Scissors, needle, pins, thread machine, thimble, stuffing, two black beads, a bell, skeins DMC Moulin in red and gold, linen thread or twine thickness.
This is another list of tools.
- A fine crochet, a white pencil, needle wool, a long thin screwdriver, a sachet of instant coffee.
Fabrics:
- white or tan felt.
 FELT DYEING.
 If you want to give this figure an older look is to dye the felt instant coffee. In the picture you can see the difference in tone between the unstained white felt and felt the same after the dyeing process. Dye
Felt is very easy, the first thing to do is put water in a container (200-250 ml. Is sufficient for the piece felt that you need to do the rabbit) and heated in a fire when the water is hot, put in the envelope of instant coffee, stir it well and then introduce a piece of felt. We let it sit in the container a bit, drain and see if we like the tone that has been. If we feel that is very dark we put it under running tap water and lower the tone a lot, if we think that was very clear it again to enter the cafe and let it sit longer. The disadvantage of using coffee to color a fabric is that this type of dyeing is not very solid.
These two tips that follow are important to dry so we let it stand top of something flat and before he set to work with must be ironed.
 BEGIN:
  1 - With double felt copy the outline of the body pattern. We mark the opening at the base where to give back to the room and do the same with the marks on the head, ears will be placed there.
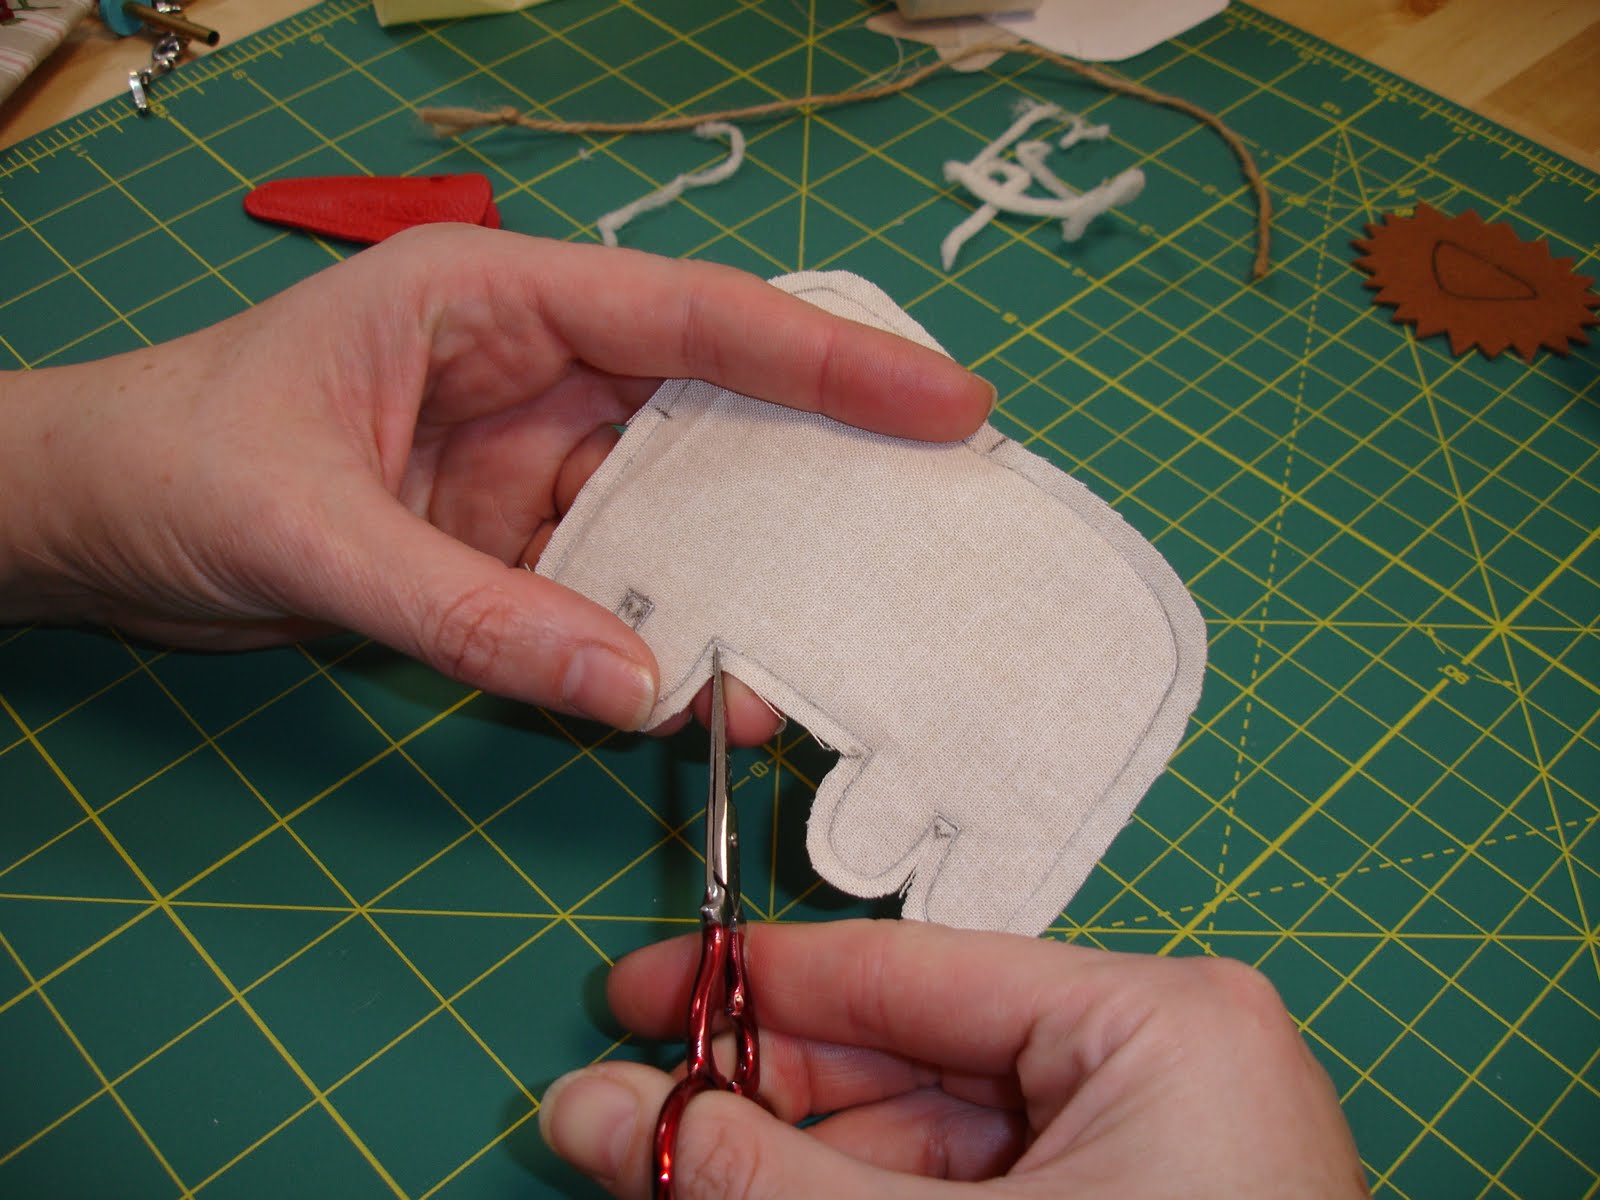
  2 - Machine sew along the edge of the pencil well. Stitch, as always, is small. As shown in the photo must be disconnected from sewing the opening space and space to put the ears. While the finish line in four points. Cut the piece
 leaving a margin of 3 mm. and be very careful when cutting the space between the belly and the front leg is very tight and can sting the seams. Then remove all the room for batting.
 3 - After cutting the pickets are shown in the pictures. The difficult point is again below the front leg because you have to give more of a bite and space is very limited.
  Detail picketing under the leg.
  4 - We used the "tour" to flip the piece. The body of the rabbit has no difficulty turning because the opening is wide, but ...... complicadilla front leg is turning, in addition to agree that we have cut almost flush with a lot of sewing and if we force can tear the felt.
  5 - Once we took it flipped all the seams with the back of the hook and will round off the peaks (if any) with the screwdriver.
  6 - wool needle pierce the points you see in the picture.
  7 - Put the above pattern centering the piece upside down and it copied the reference points of embroidery. Water use a pen or pencil. If we decided to move the pen very soft spots.
  8 - So we will be the benchmarks once transferred to the piece.
 9 - Fill the body slightly. We put a little at a time starting batting by the tail, then the paw, then the arm and finally the nose, and finally fill the rest of the head and body.
10 - embroider the stars with gold thread using two ply DMC. The letters are embroidered with the same number of ends in red and using two strands of thread.

11 - The ears can be placed in the upper hole in the head that has been without sewing a stitch and then give them to hold them behind, but with this choice we give you will not be any point.
 1 - We put the two ears in the needle.
2 - We give one or two stitches to attach it to each other.

3 - We put the needle through the hole left in the head and we get as far as possible from this point.
 4 - We pull thread until the ears are placed on your site. We again put the needle at the same point where we have taken and this time we took her out again in the back of the figure towards the tail. Finish off as when we are quilting a quilt, that is, with a double knot and threading the needle into the filling.
 4 - We pull thread until the ears are placed on your site. We again put the needle at the same point where we have taken and this time we took her out again in the back of the figure towards the tail. Finish off as when we are quilting a quilt, that is, with a double knot and threading the needle into the filling.
12 - We put the seams of the flap inside and close with a hidden stitch.
13-The eyes are two black beads are placed on both sides of the face. We've stretched the thread so they are very into the felt.
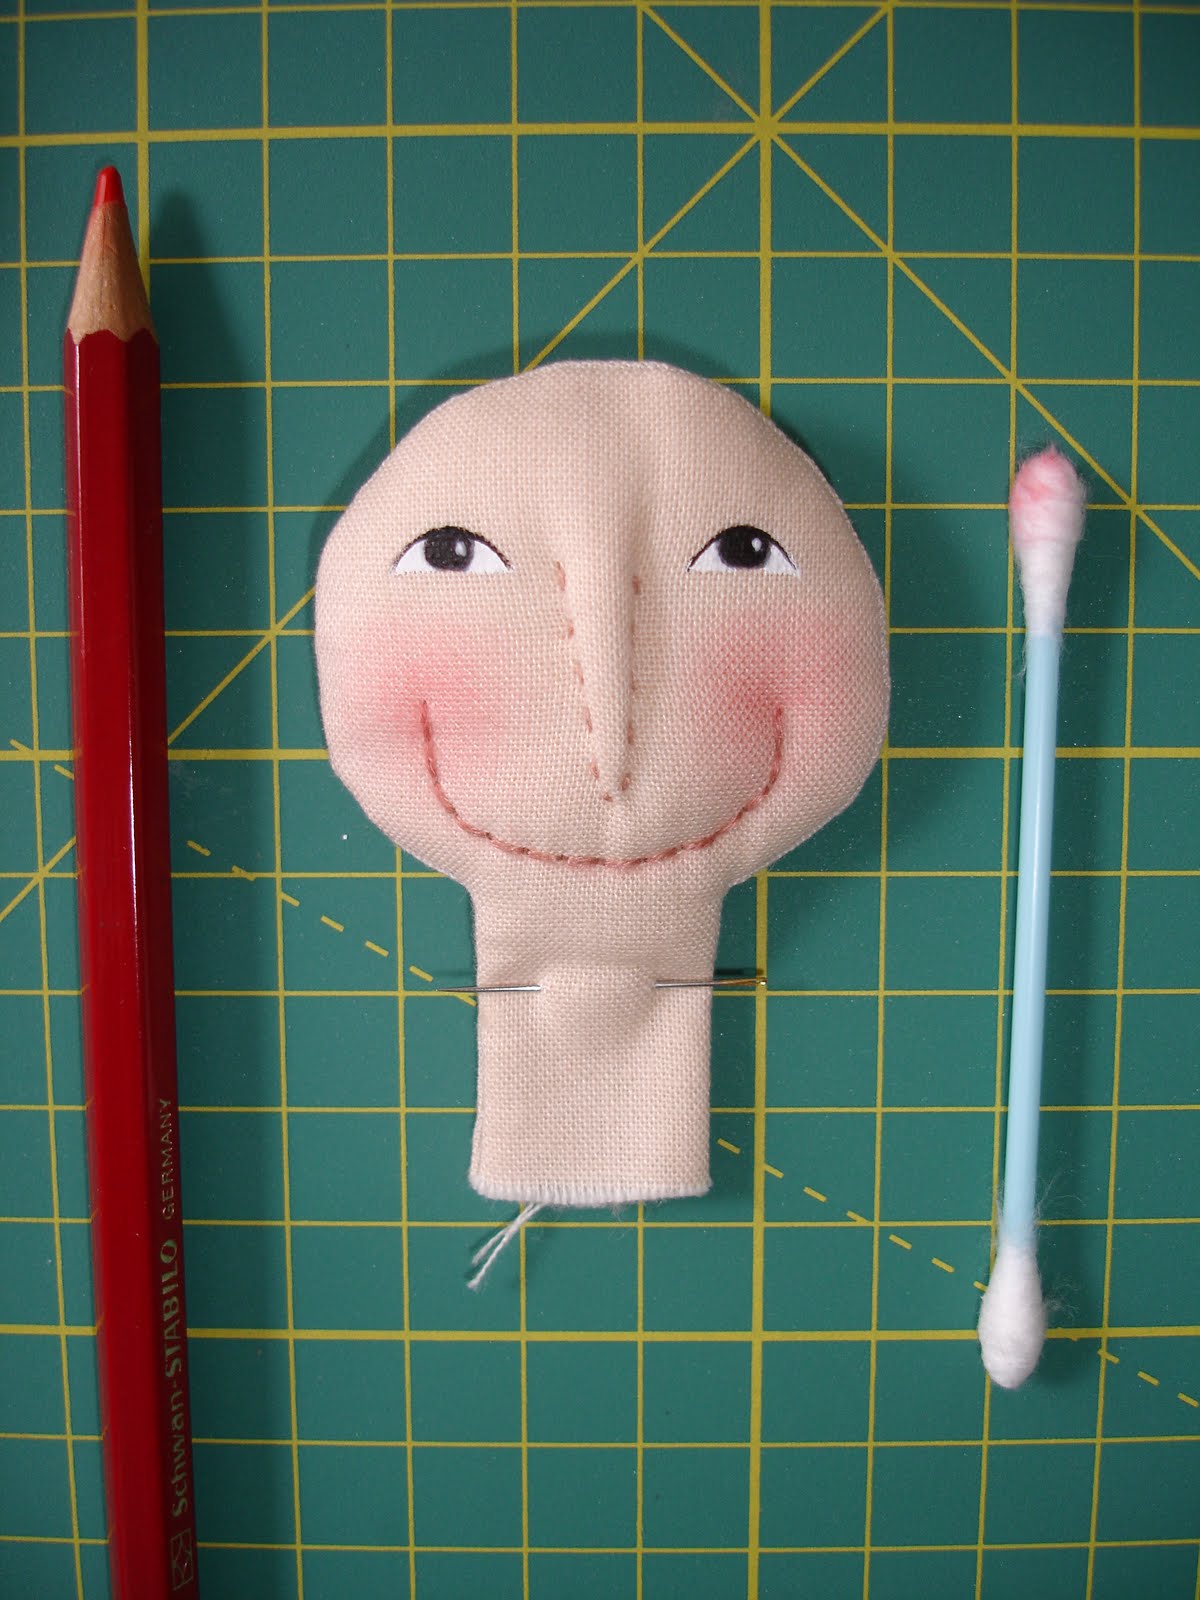
will be given a little blush on the part of the face is visible. Apply flushing prior to the whiskers. (See previous posts where he describes the implementation of flushing).
The whiskers also have put them on both sides of the face, tied as before to attach to the felt.
will be given a little blush on the part of the face is visible. Apply flushing prior to the whiskers. (See previous posts where he describes the implementation of flushing).
The whiskers also have put them on both sides of the face, tied as before to attach to the felt.
 Rabbit by the party that is visible with eyes, whiskers, and flushing.
  Rabbit by the back, not flushing.
 NOTE: The rabbit also has miniature tinsel around their necks. When approaching the holiday season to see if we find something that looks like.