READ WELL BEFORE.
material for use in CATS.

This is a list of all known materials and are almost always used:
- Scissors, needle, pins, thread to machine, thimble, stuffing, DMC skeins in different colors, a red cord, a bell, coarse linen thread, two black beads.
This is another list of tools.
- A fine hook, a soft pencil or pen water, needle, wool, wire of 0.60 mm. (Gold would be ideal) a long thin screwdriver, a curling iron to cut wire, a curling iron round head, a black or brown permanent marker.
Fabrics:
- Felt or golden yellow, solid patch in crude off-white or tan.
- Scissors, needle, pins, thread to machine, thimble, stuffing, DMC skeins in different colors, a red cord, a bell, coarse linen thread, two black beads.
This is another list of tools.
- A fine hook, a soft pencil or pen water, needle, wool, wire of 0.60 mm. (Gold would be ideal) a long thin screwdriver, a curling iron to cut wire, a curling iron round head, a black or brown permanent marker.
Fabrics:
- Felt or golden yellow, solid patch in crude off-white or tan.
Note: I have reduced the cat is 100% original.
 BEGIN:
1 - Draw the outline of the pattern a layer of fabric and using the reverse of it. We make the opening as shown in the photo. For this opening will turn the piece.
 2 - Now we have to make a sandwich. The position and order of the layers of fabric and padding is important.
 -first position in the fabric will be placed where we set the pattern. This material is the JACK BACK .
"Secondly there is another piece of cloth. If the fabric you are working with is a solid without right or vice versa, the two pieces face no more, if on the contrary, your fabric has a face, the right side of the former and the latter should be addressed. (See photo)
-Third post the batting. The fabric that we have and batting second will be the FRONT of the figure, there is embroidered face. We advise you to do a mark to know which part is the back or side is the face.
"Secondly there is another piece of cloth. If the fabric you are working with is a solid without right or vice versa, the two pieces face no more, if on the contrary, your fabric has a face, the right side of the former and the latter should be addressed. (See photo)
-Third post the batting. The fabric that we have and batting second will be the FRONT of the figure, there is embroidered face. We advise you to do a mark to know which part is the back or side is the face.
The batting has to be veeeeery fine, we use the 80% cotton, 20% Synthetic 100% cotton is very heavy and very bulky 100% synthetic. What to put wadding
a doll or figure we have seen in some books and if you test it once, you will do it forever. The reason why batting is used to not notice any lumps or balls that we are to enter the landfill and the surface is smooth and smooth to work and look better. Like all good things they bring something wrong: with this system is harder to turn the piece and ... seams tear easily if it is a small part.
 3 - sew the sandwich machine, slowly and with a small stitch. We begin, as always, at the point where the opening starts, finishing well and we sew all the way around to the point where the opening ends. Finish off again.
 You can do a double seam, back to sewing for the second time round for the seam to make it more resistant to flipped.
4 - Once the outline stitching, the piece is cut along the lines of stitching, leaving a margin: 3 mm. approx. Attention to the interior that is between the tail and body because it is very close and if you you spend cutting the seams will open to turn the tail.

5-Now a fine odd jobs. 3 mm are cut. batting, wadding ONLY we left margin. Cutting this wadding little will be easier to turn the piece. Using embroidery scissors to cut it at the tip, cut carefully and slowly to avoid chopping the two sides of fabric underneath. Before going to see the picture to get an idea of \u200b\u200bhow it should be the cat to flip. Observing that there opening batting.

6-Once removed padding around the outside, the next step is to chop the concave areas so that the seams do not pull the piece once flipped. Pictured are placed pickets to do.


7 - Now we have to turn a piece that is not easy. First turn the tail ....


 8 - ... slightly and fill it without turning the rest of the figure . We use the screwdriver for this operation. We put very little filling time.
9 - The rest of the body is easier to turn. I also used the "tour" to turn the legs and go more easily.

10 - are bound to make good the tips of the ears by pushing with the back of the hook, but without exceeding the strength that the seams are torn.
 11 - also can work the seams. At best, the sewing machine to have left us little steep peaks and curves along quite ...
.... putting them inside his head to the nearest screwdriver or the Crochet back as you see in these two pictures.
 12 - With the needle wool we all holes as indicated in the picture. We will make two eye holes, three on the nose, one in the bottom of the mouth and two to put the whiskers.
  13 - With a soft pencil or pen water go all the points we scored in the pattern. Focus the pattern on the figure so that the cat's face is not distorted and to assure you that you have done the benchmarks for embroidery PART of the figure with batting.
So are points reference and then embroider.
14 - Now fill the figure slightly. Started by the ears and feet, getting very little filler and continue growing with the rest of the body until it is a bit consistent.

15-Now we have to close the opening that we used to rotate the piece. We put the two seams inside trying not to excel one above the other and then do a basting to keep the seams in place.
 16 - We take a machine stitched along the opening. We've finished the leftover yarn by hand.
  17 - To apply the lipstick using a red paint. Gently apply with circular movements. To insist more depth in the center of the cheeks and let more light outside them. Take the time to figure out where to go rouge and you are centered at the same height.
  18 - To make the strongest flushing NOT HARD TO FIRST PINT because it will be a blob, it looks very smooth, the emphasis in the center, everything is blurred with a swab to the outside and become to repeat these steps as many times as necessary until the color intensity is we seek.
19 - With a black thread embroidery sewn beads on two points corresponding to the eyes.
 20 - the same thread is embroidered nose about to shoot and at the end with the nose, the mouth is a big stitch we getting the needle into the last point we have done and put back in. again at the tip of the nose. Top.
  21 - To make the whiskers using coarse linen thread but I think the twine also works well. Is threaded the needle with double thread is passed through one of the points we made in the cheeks and pulls a little further as you see in the picture.
  22 - then cut the thread ....
23 - .... and tied. The same operation with another mustache.
 24 - With a black or brown permanent marker is written "Merry Christmas." Apretéis not much to write and once written let it dry a day because the ink can be run if touched.
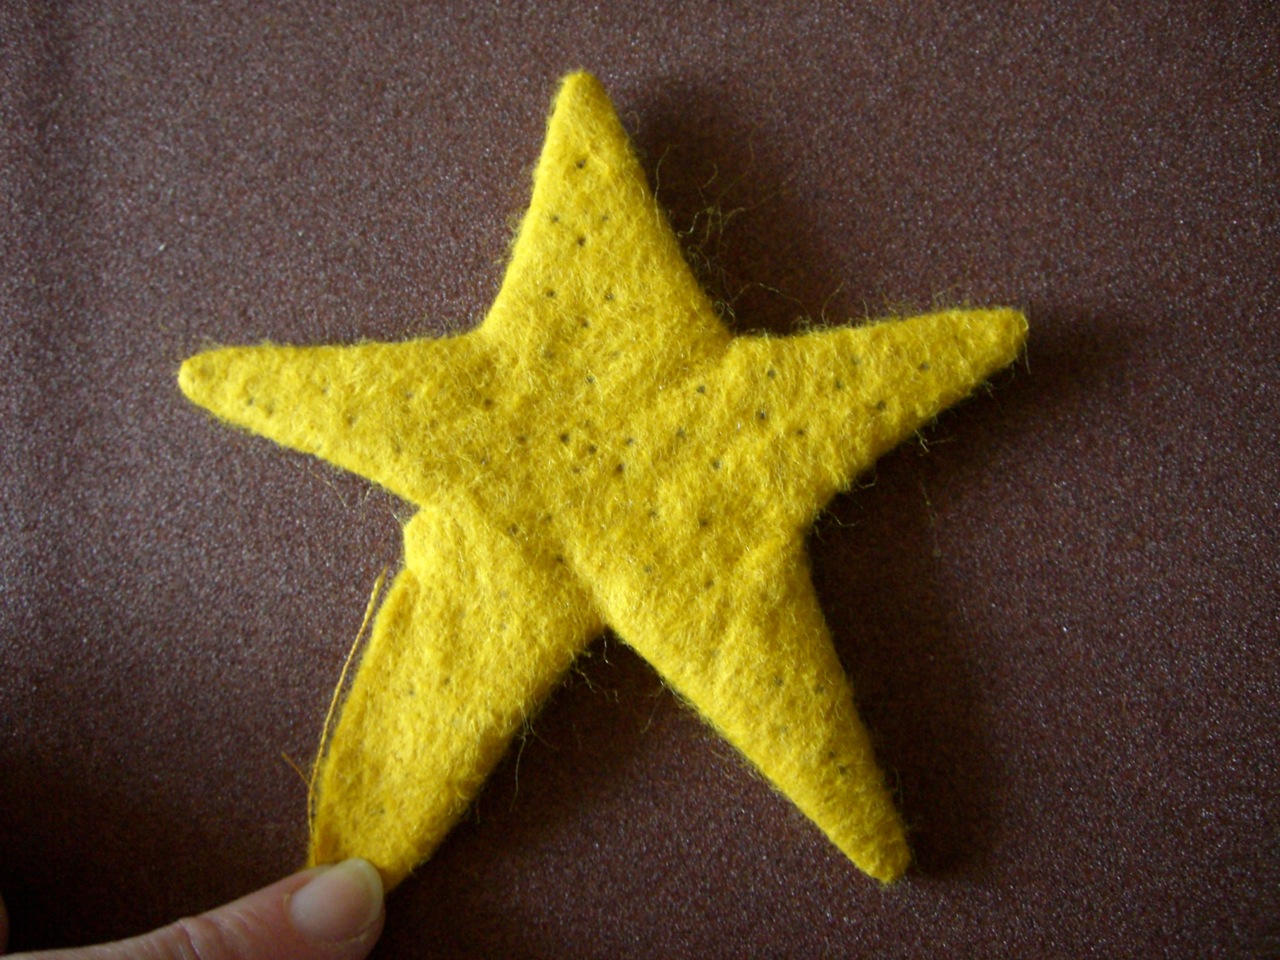
  25 - You have to cut a small star felt a piece of toast. Ours is 4 cm from tip to tip. If you want the felt to have some consistency before drawing the star so you have to impregnate in hairspray Strong hold and let it dry a day.
26-Make a hole in one of its ends and a ring (as in the star) of 6 cm in circumference, the aplastáis a bit with your fingers until you have shaped clip. " You make a hole in the tip of the tail with a needle and wool introducís one end of the ring through the hole of the tail, on the other end meteis the star. Close the ring.

27 - You make a loop around the neck of the cat with a red cord and a small bell.